Choosing your first pad printer
Your first pad printer should match the work you already sell, not a wish list that sits idle on the shop floor. Start with the items, artwork and daily volumes you handle most often, then size the machine around that real mix.
Start with the items you print most
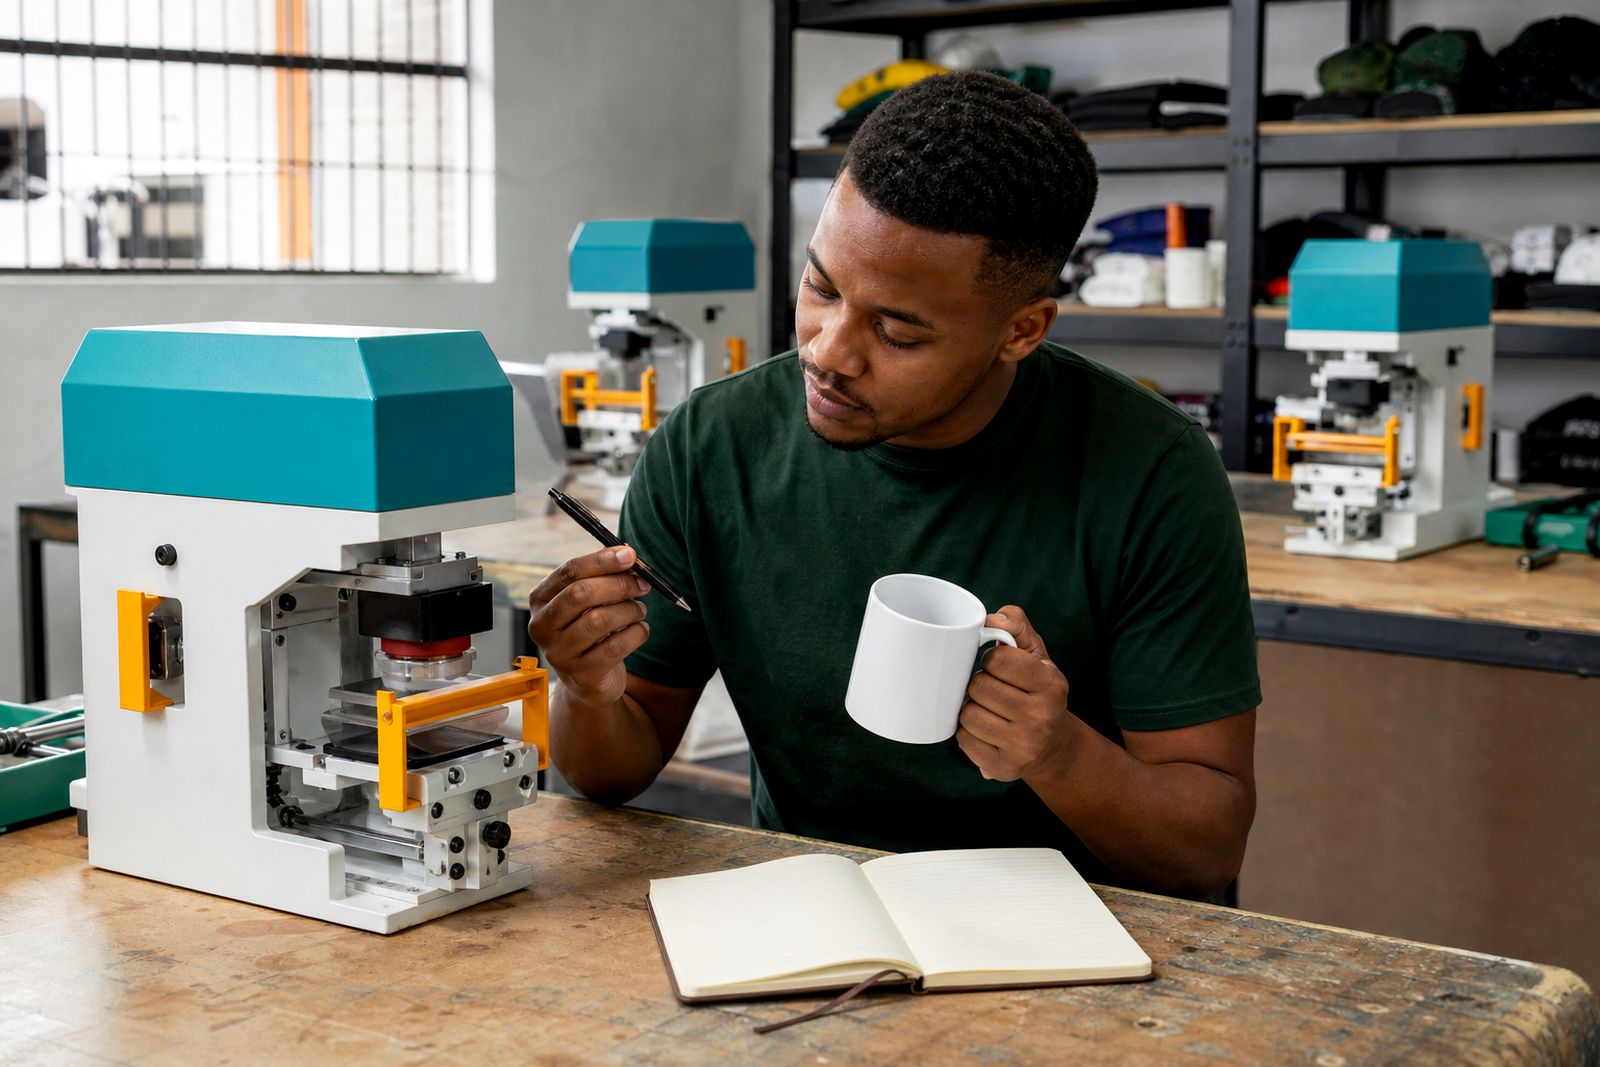
The quickest way to overspend is to shop by machine headline instead of the parts you need to mark every week. A pen clip, a cap front, a woven garment label and a mug all ask different things from the print area, jigging and pad shape. Before you look at machine layouts, put ten to twenty of your usual items on a table and group them by size, shape and how accurately they need to register.
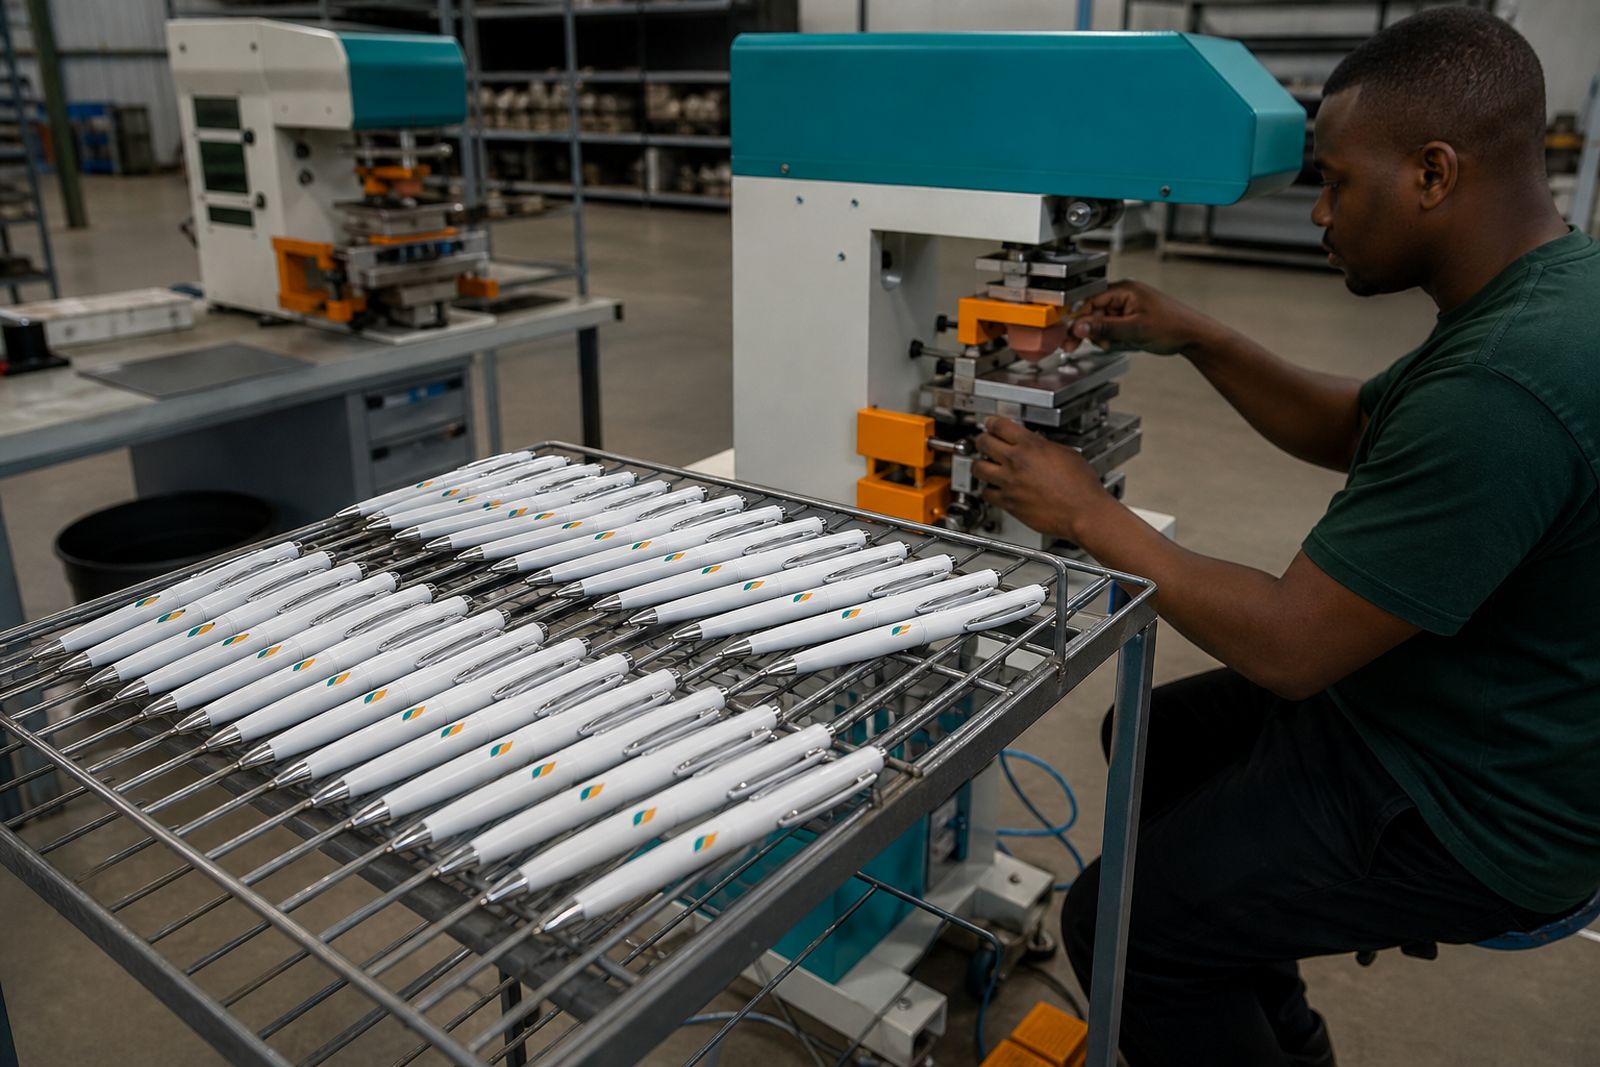
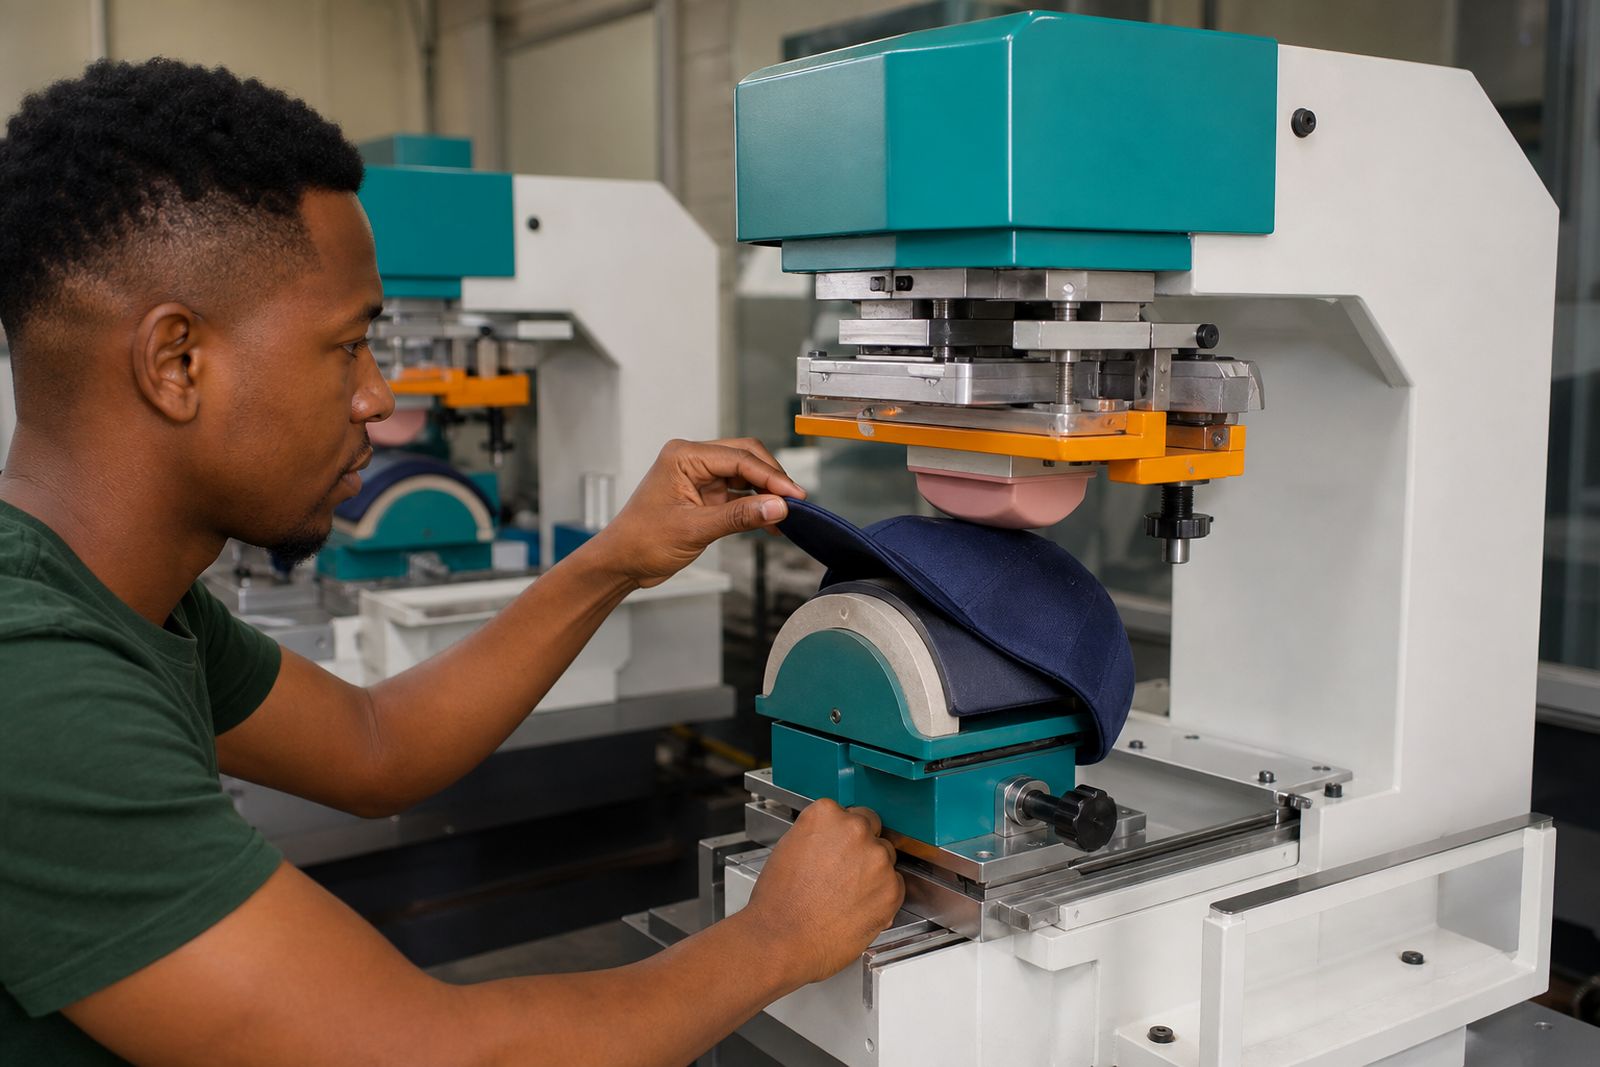
For many branding shops in Gauteng, the first machine mainly covers pens, lighters, keyholders, flat tags, small boxes and basic curved promotional pieces. If labels and caps form a large share of your work, note that fabric labels need stable location and clean ink laydown, while cap panels often need firm holding fixtures and careful pad travel. A sample run helps spot aligment issues long before full production starts.
- Measure the widest and tallest print area you need in millimetres.
- Separate flat items from curved items.
- List products that need a custom jig to hold them steady.
- Mark any item with awkward seams, clips, handles or taper.
- Note whether you print one side only or need multiple positions.
Count the colours honestly
Many first-time buyers think about the biggest artwork they might get one day, then end up buying more colour stations than the daily job mix requires. Look at your actual order book. A large share of promotional branding work is still one colour on pens, labels and simple giveaway items. Two colours become useful where logos include a spot colour plus black, or where a second pass improves readability on dark surfaces. Four colours suit more involved branding, but they also add setup steps, registration checks and floor discipline.
There is nothing wrong with starting on a single colour machine if the work supports it. If your regular clients send two colour logos on narrow pens or small label faces, a two colour shuttle layout can save handling time and improve repeat positioning. Where artwork changes often and operators are still learning, fewer colours usually mean less waste and a steadier first month on the machine.
- Write down how many jobs last month were one colour.
- Mark which jobs truly required two colours, not just preferred two colours.
- Set aside the rare multi-colour request that could be outsourced while you build volume.
- Check whether small text must register tightly between colours.
Volume matters more than ambition
Production volume affects almost every buying decision: machine cycle, ink management, cliché changes, operator fatigue and how many jigs you will keep near the press. A small machine can be the right choice if you run short batches and frequent artwork swaps. If you mostly process repeat runs for the same pen barrel, cap style or label size, a larger production-focused setup may make sense.
Do not estimate from your busiest week only. Rather count an ordinary month and note the split between short runs, medium repeat work and urgent top-up orders for existing clients. This gives a better picture of where stoppages happen. In many shops the real bottleneck is not print speed but setup time between jobs, pad selection and locating the right fixture.
It also helps to think about who will operate the machine. A user-friendly layout with sensible access for plate changes, ink cup handling and jig loading is often more valuable than chasing the highest output figure on paper.
Leave enough room around the machine
Floor space is usually judged too tightly. The machine footprint is only part of the story. You need room for operator movement, item loading, drying racks or collection trays, consumables storage and a bench for plates, pads and setup tools. If you are working from a Midrand shop unit or a compact branding workshop in Gauteng, proper spacing can make the difference between smooth repeat work and constant bumping into stock or boxed blanks.
Think about airflow and cleanliness as well. Dust, loose packaging fibres and crowded packing areas can affect print consistency, especially on smaller copy. If your premises run warm in the afternoon, allow for a stable working zone rather than pushing the machine into a corner near roller doors or direct sunlight.
- Measure the machine footprint and then add working space on all sides.
- Reserve a nearby bench for pads, clichés, inks and cleaning materials.
- Plan where finished parts will stand without being touched while ink settles.
- Keep raw stock and packed stock separate from the printing zone.
- Make sure larger mugs, bottles or cap fixtures can be handled safely around the press.
Budget for the full working setup
A first machine should never be priced in isolation. To produce usable work, you also need the right consumables and support items around it. That includes inks suited to the substrate, silicone pads in shapes that match the image and article, clichés or plates for the artwork, plus custom jigs where the item cannot sit consistently on a standard base. Some shops learn this a bit late and end up with a machine standing ready but no complete path to production.
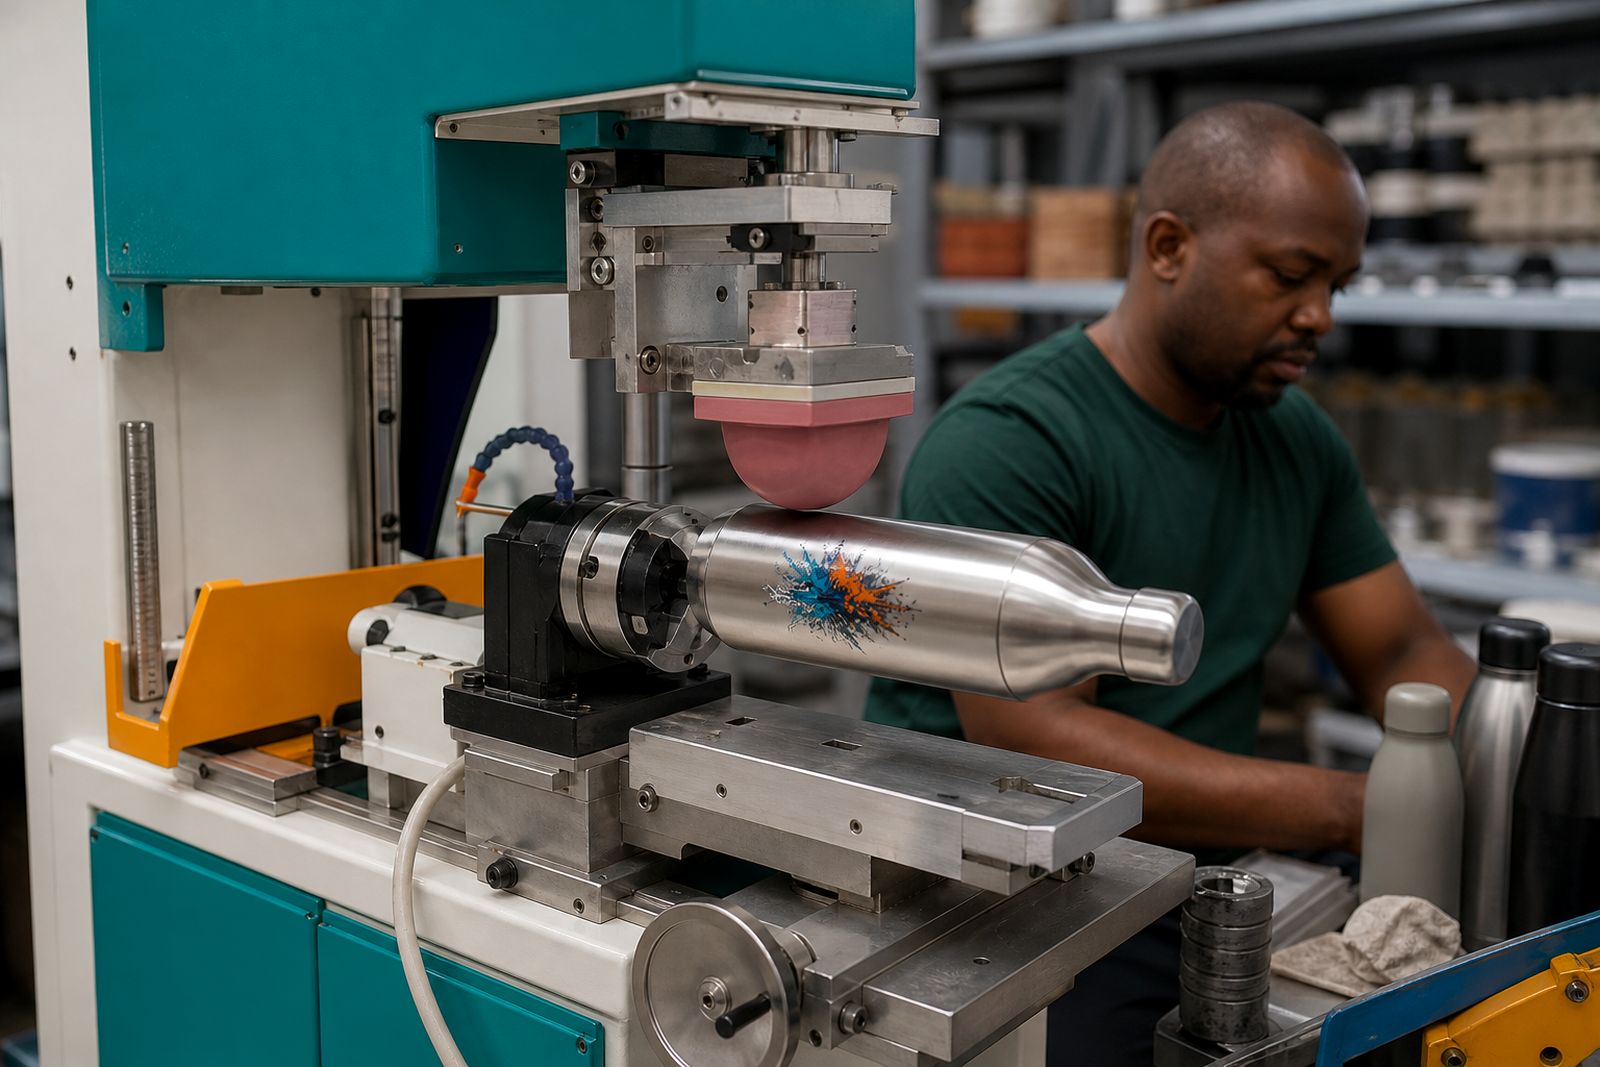
Ask for the setup as a working package, not just a press. For example, if your main work is pens and garment labels, the pad shapes and holding fixtures for those items matter as much as the machine itself. If your list includes mugs, bottles or other curved pieces, say so early because curved work often needs more thought around contact area, image distortion and repeat positioning.
We sell, set up and support pad printing machines, inks, silicone pads, clichés and custom jigs for branding businesses, and we can courier consumables to every province once your setup is in use. We do not print branded items for the public.
The four questions to settle before you place the order
By the time you are ready to proceed, the shortlist should be quite narrow. You should know the biggest image area you need, the realistic number of colours, the daily or weekly output range and the space available around the press. If any of those are vague, hold the purchase for a day or two and measure properly. It is cheaper to correct a brief than to correct the wrong machine on the floor.
Bring item samples, artwork sizes and a simple list of your main substrates when you enquire. Include whether you are printing on pens, mugs, caps, labels or mixed promotional products, and mention if you need installation in Gauteng or courier delivery to another province. If your team is new to pad printing, note that as well so the recommended setup matches operator experience and not only production goals.
- What is the largest and smallest image you need to print often?
- How many colours do your regular jobs actually use?
- How many pieces must you produce in a normal shift or week?
- How much clear floor space do you have for the machine and support bench?
If you want us to look at your usual product mix, send the item list and sample details through our contact form.
What our Pad Printing customers say
Verified Google reviews
Questions we get asked
Is a single colour pad printer enough for a first setup?
For many branding shops, yes. If most daily work is one colour on pens, labels or simple promotional items, a single colour machine can be the right starting point. Move to two colour production when your regular order mix justifies it.
Can one machine print both flat and curved items?
Often yes, but the result depends on the article shape, the print area and the jigging. Flat tags, pens, mugs, bottles and cap fronts may all be possible with the right pads, plates and fixtures, but they should be planned as part of the setup.
Do I need custom jigs for promotional products?
Usually for repeat work, yes. A custom jig helps hold the item in the same position for each print cycle, which improves consistency on pens, caps, labels and shaped giveaways.
Also worth a look
Tell us about the job
Send sizes, materials and where you are through our contact form, and we will come back with the practical options.
Open the contact form